Standard operation process of mechanical valve pressure testing
In industrial production and daily maintenance, mechanical valves are common fluid control devices, playing a crucial role in maintaining fluid pressure stability and regulating flow. In order to ensure the normal operation of mechanical valves and extend their service life, pressure testing is an essential step. This article will introduce the standardized operation process of mechanical valve pressure testing to ensure the safety and accuracy of the operation process.
1. Preparation Work
Equipment preparation: Ensure that all required pressure testing equipment (such as pressure gauges, pressure pumps, pressure vessels, etc.) are in good working condition. At the same time, prepare necessary safety equipment such as protective glasses, gloves, etc. to ensure the safety of the operators.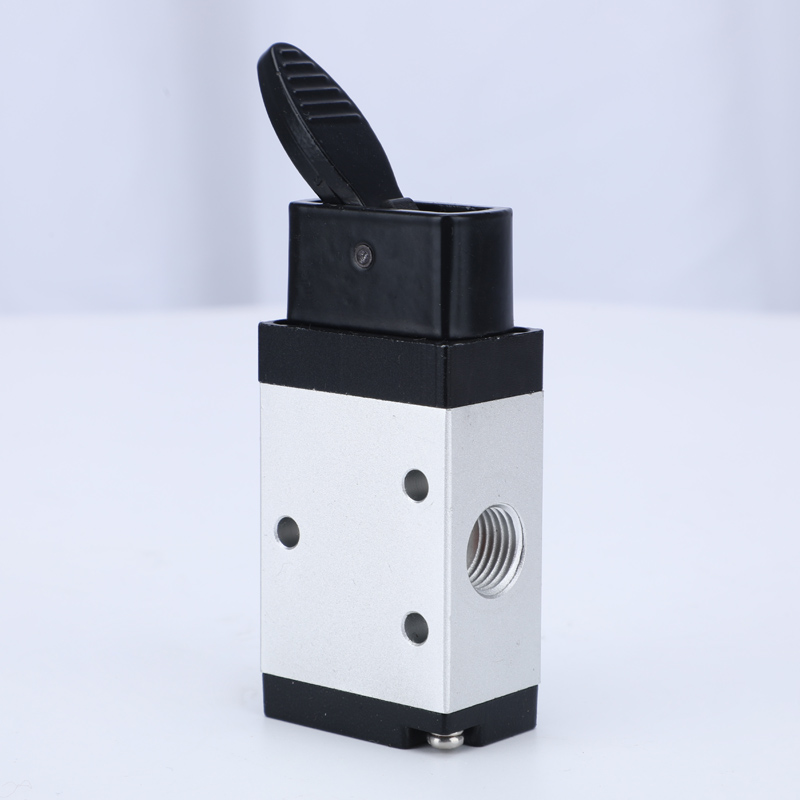
Environmental preparation: The test environment should be kept clean and dry, and ensure that there are no other factors that may affect the test results, such as electromagnetic interference.
Material preparation: Prepare appropriate test medium (such as water, air, oil, etc.) according to the test requirements, and ensure its cleanliness and freedom from impurities.
2. Pre-test Inspection
Valve body check: Check for cracks, corrosion, and other defects in the valve body to ensure that the valve body is intact and undamaged.
Sealing check: Check the sealing of the valve body through gas pressure testing or water pressure testing to ensure there is no leakage.
Pressure gauge check: Ensure that the pressure gauge is accurate and the readings are stable during the test.
3. Pressure Testing Steps
Preheating stage: Before the test, preheat the valve body first to avoid performance instability caused by temperature changes.
Pressure setting: According to the design pressure of the valve body and the test requirements, gradually apply pressure to the valve body. Usually start from 10% of the design pressure, gradually increase to the design pressure, and then gradually reduce the pressure to 10% of the design pressure.
Pressure holding stage: Maintain a certain pressure for a set period of time (such as 10 minutes), observe whether the pressure gauge reading is stable, and whether there are any leakage phenomena.
Pressure reduction stage: Gradually reduce the pressure to 10% of the design pressure, and then carry out pressure holding observation again to confirm the stability of the valve body performance.
End of pressure testing: After completing the above steps, ensure that the internal pressure of the valve body is completely released to atmospheric pressure before disassembly and inspection.
4. Test Results Analysis and Treatment
Record data: Record all data during the testing process in detail, including pressure values, observed phenomena, etc.
Analysis of results: Based on the test data and observed phenomena, analyze the working condition of the valve body and judge whether there is a fault.
Treatment measures: For the problems found, take corresponding measures to deal with them, such as replacing damaged parts, repairing leakage points, etc.
Record and archive: Record the test results and keep them archived as a basis for future maintenance and fault diagnosis.
5. Safety Precautions
When conducting pressure testing, it is imperative to ensure that all personnel involved are equipped with protective gear to avoid accidents.
Operate strictly according to the operation procedures and do not arbitrarily change the test program.
During the testing process, there should be a designated person in charge of supervision to ensure the safety of the test.
Once an abnormal condition is found, the test should be stopped immediately, and corresponding measures should be taken to deal with it.
Through the above specified operation process, it can effectively carry out pressure testing on mechanical valves, ensuring their stable performance, extending their service life, thereby improving production efficiency and ensuring safe production.